The other day we had Aunt Shura's memorial evening. It's been eleven years she departed to the other world in the ripe age of 96, and it is a tradition to mark this day each year with a dinner at home. She was one of my six aunts from mama's side. Childless, she clung to her sisters' children, and so it happened that I was her favorite niece. She later got deeply attached to Masha (the other host of this blog), when later we had to live together in one apartment. Hot-tempered, demanding and rowdy, she was not an easy-going person, but on the other hand she was kind, generous and open-hearted. Once in a while she brought me to tears, but strangely enough I remember mostly good things about her. One of them is her cooking lessons. She armed me, the then ten-year-old girl, with tools of the trade - all the basics and principles of good home cooking. All these principles are used today with gratitude, and I hope to have passed most of them on to my daughter who surprises and gladdens me with her fantastic kitchen experiments.
Today's blini recipe is quite different from Yeast Blini - they are thin, lower calorie and pretty quick to do.
What you need:
B a t t e r:
2 eggs
1 cup buttermilk/kefir
1 cup and 1 Tbsp flour
1/8 tsp Kosher salt
1 tsp sugar
2/3 cup milk
1/2 tsp baking soda
2 Tbsp olive oil + oil for frying
+
Stick of cold butter to oil ready blini
Condiments/Sides:
S a v o r y:
Butter
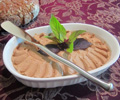
Sour cream
Caviar
Salted salmon
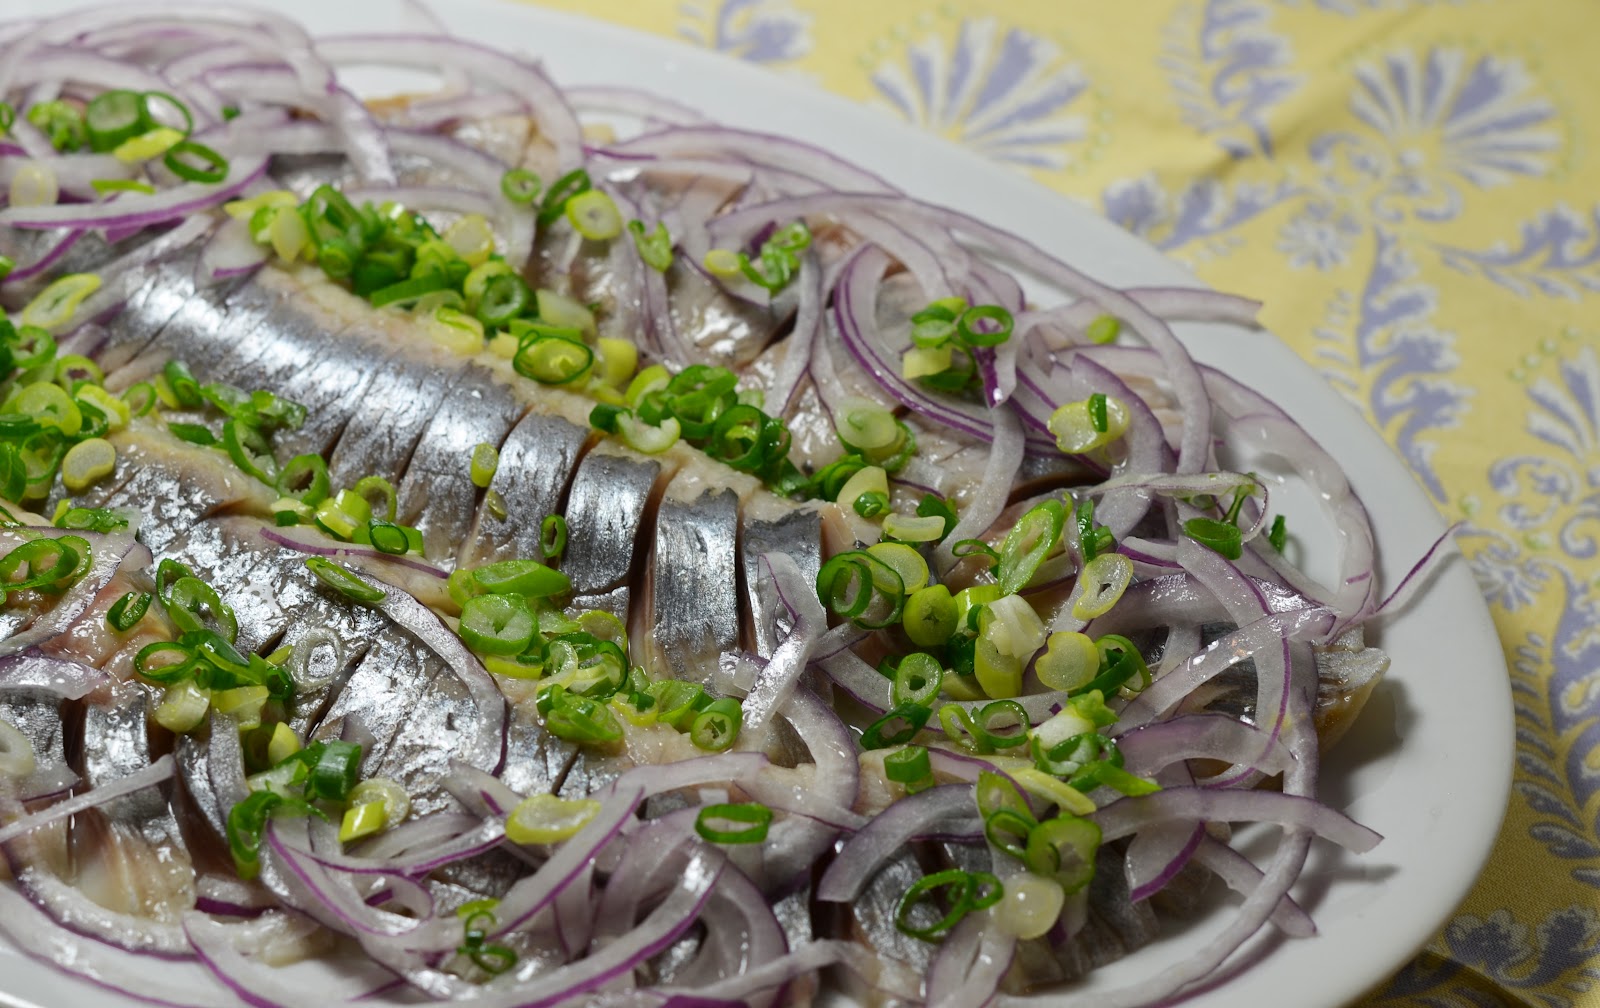
Herring
S w e e t:
Butter
Jams
Jellies
Whipped cream
Honey
Maple Syrup
Fresh fruit
Also: sour cream combines well with all sweet things.
Non-stick or cast iron skillet.
Soup ladle
Spatula
Heat-resistant serving dish
Time 1 hour (it will take more if you have no experience with pancakes or crepes)
Yields 12 blini
Method:
1. Slightly beat the eggs, add 1/2 cup buttermilk, salt, sugar, and oil, mix until sugar and salt completely dissolve.
2. Add all flour and make a rather thick batter. Mix rapidly until there are no lumps and the batter looks smooth.
Tip: When making blini it's much faster to make a thick batter first, then dilute it with liquids.
3. Now, add the remaining buttermilk, sprinkle with baking soda, stir well, and finally mix in milk in 1/3 cup portions.
4. Let the batter sit for a few minutes to form gas bubbles that will give airy texture to blini.
Keep in mind that the first blin (blini is plural form of blin) is usually ruined. There's even a saying in Russian: "The first blin comes crumbled" (near equivalent in English is "The first pancake is for the cook"), meaning when you do something for the first time, it's not always successful. So don't be discouraged if your first blin is a failure - it's normal. That's why you see only eleven blini on the picture, and the middle is empty: the twelfth blin was supposed to be there in a form of a rosette. :)
Heat the skillet on a high heat setting. Now you have to work with two hands: sprinkle the skillet with oil (just a little), take the skillet in your left hand, tilt it around, make sure the oil spreads in all directions in thin lines (you can also butter the skillet as shown in Yeast Blini recipe), then scoop about half of soup ladle of batter and pour it on top of the skillet, quickly swirl and tilt making sure the batter spreads around - it shouldn't be perfect. If you feel the batter is too thick, add a little more milk to it.

Cook on one side until the surface becomes mat and bubbles form.
Flip over and finish on the other side.
When ready, flip it over to a heat-resistant dish - second side up. This side is smoother and easier to butter. Quickly butter your blin with a half-undressed butter stick, and immediately start another blin.
It takes some practice to bake blini. You also should have everything arranged and easily reachable otherwise you will either forget to butter or will burn your blini or something else will go wrong.
Thin blini should be baked on high heat setting, but sometimes (depending on the skillet you use) you need to adjust the heat. I alternate high and medium heat to achieve what I need.
Stack all your blini on a serving plate (heat-resistant!), loosely cover with foil, and toss it in the 280-300F oven to keep warm. It's better to lay the table beforehand, so you could immediately start eating blini.
Notes:
This recipe can be modified: add less oil in batter and use water instead of milk to reduce calories, add melted butter instead of oil to make it deliciously flavorful, add more sugar if you prefer sweeter blini.
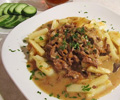
What you see on the picture is three-fold blini. This is the best way to serve them to a crowd of people and easy to heat up if needed.
Another rather sinful way to serve blini: generously butter a hot blin, generously sprinkle it with sugar, roll up - eat! That's what my aunts did to spoil their grandchildren.:)
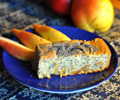
My buttermilk blini turned out great: delicate inside with a perfect pattern. I ate and thoroughly enjoyed them as they are, without any additions. Aunt Shura would be proud of her humble apprentice. :)
B a t t e r:
2 eggs
1 cup buttermilk/kefir
1 cup and 1 Tbsp flour
1/8 tsp Kosher salt
1 tsp sugar
2/3 cup milk
1/2 tsp baking soda
2 Tbsp olive oil + oil for frying
+
Stick of cold butter to oil ready blini
Condiments/Sides:
S a v o r y:
Butter
Sour cream
Caviar
Salted salmon
Herring
S w e e t:
Butter
Jams
Jellies
Whipped cream
Honey
Maple Syrup
Fresh fruit
Also: sour cream combines well with all sweet things.
Non-stick or cast iron skillet.
Soup ladle
Spatula
Heat-resistant serving dish
Time 1 hour (it will take more if you have no experience with pancakes or crepes)
Yields 12 blini
Method:
1. Slightly beat the eggs, add 1/2 cup buttermilk, salt, sugar, and oil, mix until sugar and salt completely dissolve.
2. Add all flour and make a rather thick batter. Mix rapidly until there are no lumps and the batter looks smooth.
Tip: When making blini it's much faster to make a thick batter first, then dilute it with liquids.
3. Now, add the remaining buttermilk, sprinkle with baking soda, stir well, and finally mix in milk in 1/3 cup portions.
4. Let the batter sit for a few minutes to form gas bubbles that will give airy texture to blini.
Keep in mind that the first blin (blini is plural form of blin) is usually ruined. There's even a saying in Russian: "The first blin comes crumbled" (near equivalent in English is "The first pancake is for the cook"), meaning when you do something for the first time, it's not always successful. So don't be discouraged if your first blin is a failure - it's normal. That's why you see only eleven blini on the picture, and the middle is empty: the twelfth blin was supposed to be there in a form of a rosette. :)
Heat the skillet on a high heat setting. Now you have to work with two hands: sprinkle the skillet with oil (just a little), take the skillet in your left hand, tilt it around, make sure the oil spreads in all directions in thin lines (you can also butter the skillet as shown in Yeast Blini recipe), then scoop about half of soup ladle of batter and pour it on top of the skillet, quickly swirl and tilt making sure the batter spreads around - it shouldn't be perfect. If you feel the batter is too thick, add a little more milk to it.

Cook on one side until the surface becomes mat and bubbles form.

When ready, flip it over to a heat-resistant dish - second side up. This side is smoother and easier to butter. Quickly butter your blin with a half-undressed butter stick, and immediately start another blin.
It takes some practice to bake blini. You also should have everything arranged and easily reachable otherwise you will either forget to butter or will burn your blini or something else will go wrong.
Thin blini should be baked on high heat setting, but sometimes (depending on the skillet you use) you need to adjust the heat. I alternate high and medium heat to achieve what I need.
Stack all your blini on a serving plate (heat-resistant!), loosely cover with foil, and toss it in the 280-300F oven to keep warm. It's better to lay the table beforehand, so you could immediately start eating blini.
Notes:
This recipe can be modified: add less oil in batter and use water instead of milk to reduce calories, add melted butter instead of oil to make it deliciously flavorful, add more sugar if you prefer sweeter blini.
What you see on the picture is three-fold blini. This is the best way to serve them to a crowd of people and easy to heat up if needed.
Another rather sinful way to serve blini: generously butter a hot blin, generously sprinkle it with sugar, roll up - eat! That's what my aunts did to spoil their grandchildren.:)
My buttermilk blini turned out great: delicate inside with a perfect pattern. I ate and thoroughly enjoyed them as they are, without any additions. Aunt Shura would be proud of her humble apprentice. :)