Our website has moved! Redirecting to RecipeStudio.com...
If this does not work, please click here.

Impromptu Dessert Minis

Monday, February 27, 2012

When you are not inclined to spend hours mixing, grating, and baking, but still crave a homemade dessert, this improvised creation could come handy. The Muse of Improvisation visited me and pushed some buttons of my imagination. I rushed to my fridge where I had a cup of leftover sweet crumbs, the rest was done on magical impulse. The result pleasantly surprised both me and my other half: simple yet elegant, these minis pampered our palates with their nutty sweet decadent pith.

What you need:
5-6 Tbsp ground or crushed cookies (like shortcake)
3 Tbsp finely ground pecans or walnuts
30 g (1/3 stick)butter, whipped
3-4 tsp sweetened condensed milk
Confectioners sugar for dusting
Cooking time: 20 minutes
Yields 9 small cakes

Method:
Mix together 3 Tbsp ground cookies and 3 Tbsp nuts.
In a small bowl whip your butter and gradually mix in condensed milk until even and creamy. Condensed milk should be at room temperature to avoid flaking of the cream.
Mix everything together to get a rather thick mass.
Form small balls (1 tsp of mass per each), roll them in the remaining ground cookies.
Place cookies on a nice dish, dust with confectioners sugar, chill, and serve.

Unexpectedly delicate, and very convenient to handle candy-like dessert!

Belyashi - Fried Pies with Meat

Friday, February 24, 2012

These small meat pies come from Tajik cuisine, but were traditionally cooked in Russia. In the Soviet era they used to sell hot belyashi from big pots right on the corners of busy streets, where hungry students immediately formed a line to buy a hot pie for about 15 kopecks each. It was not as good as homemade, but still a very popular food on-the-go.  Mama's belyashi, usually prepared on weekends, were superb, they were tasty even when cold. After the first round of eating them toasty hot just off the frying pan, we continued the next day at  forest picnics.

What you need:
The dough:
2 eggs
1.5 cups milk
2 Tbsp + 1/2 tsp sugar
1/4 tsp salt
6 Tbsp olive oil
2 tsp dry yeast
3.5-4 cups flour, sifted + flour for dusting

The filling:
1 lb ground beef (I used bison meat)
1 lb ground pork
1 big onion, finely grated
1/4 tsp salt
Black pepper

A pot, better enameled, for mixing the dough
10" frying pan with about 3" high sides
A plastic bag
Yields 40 pies
Total time: about 4 hours

Method:
1.Warm up milk in a pot until lukewarm. Mix yeast in 1/4 cup of this lukewarm milk, add 1/2 tsp sugar and put aside to rise and foam.
2. Beat eggs, add to the milk.
3. Add oil, salt, sugar, and yeast mixture when it is foamy.
4. If the milk-egg mixture cooled down, warm it up on low heat stirring constantly. The mixture should be lukewarm.
5. Add 3 cups of flour, mix with wooden spoon until incorporated. Transfer to the table/board dusted with flour and knead with your hands, turning and pressing, until you get a ball that doesn't stick to your hands.

6.Toss the dough into the plastic bag, tie loosely,  and put in the fridge for 30 minutes. This procedure gives the dough a shock that makes it grow fast when you take it out to room temperature.
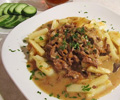
Meat filling should be soft and tender
7. Prepare the filling. Mix meats with grated onion, salt and pepper. The mixture should be soft, but not runny. If you feel it is too tough, add some milk or water and mix well again. Cover the filling and let it stand at room temperature.

8. Take the dough out of the fridge. Cut small pieces of dough (about 30-40g each), spread them on floured surface. Work in batches of 5-10 pieces. Form dough balls between your palms, put them on floured surface to rise (leave enough space between them - about the size of 1 or even 2 balls).

Cover with plastic wrap and let rise until balls double in size. It will take different time depending on the quality of yeast, flour, and the temperature in the room. Ideal temperature in the room for working with yeast dough is about 80 F.

9. When dough balls double in size and feel tender to the touch, form rounds, about 4" each, using a roller or fingers. Put about 1.5-2 Tbsp filling in the middle of each round and pinch together the sides. I prefer not to leave a hole in the middle, because the juices will escape during frying and make a mess in your frying pan and on the range.

10. Place pinched belyashi on floured surface and let them rise again, about 30 minutes or when you feel that the dough is puffy and tender to the touch.
11. Heat the frying pan on medium heat, add oil. Ideally you need so much oil that belyashi are half deep in it, then you don't have to put them on the sides to fry all over. Place a few belyashi in the pan leaving some space between them. Fry on one side until golden, flip over and finish the other side. Fry on the sides if necessary. It's easy to burn fingers with hot oil, so use tongs to turn belyashi.

12. Stack ready belyashi in a dish layered with paper towels.

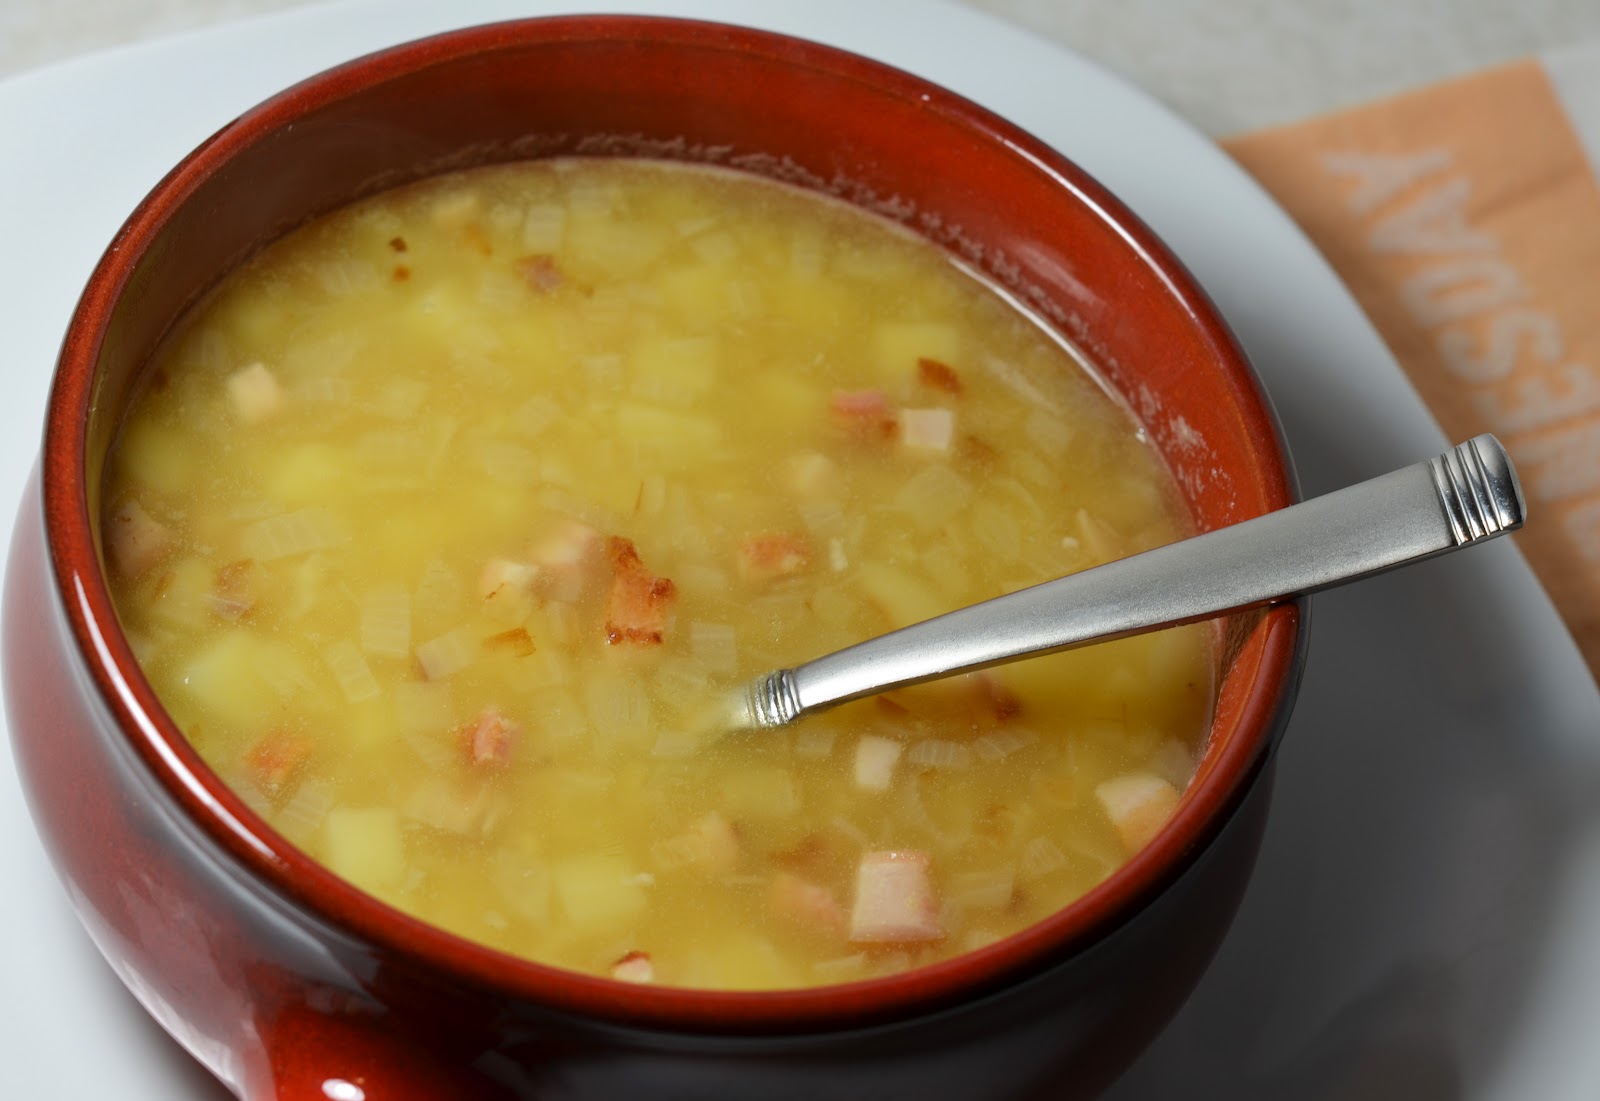
Serve warm with broth, tea or milk (Jewish people will kill me for meat and milk together, but that's how mama served belyashi, and it was really, really good!)

Tear the crusty shell to reveal juicy flavorful meat inside, devour, and don't feel guilty once again. As many tasty things, it's not your everyday food,  but  so-o-o satisfying.

Valentine's Day Fool

Thursday, February 16, 2012

A British dessert dating back to the 1500's, fruit fool is as simple as its name suggests. Traditional fool (or foole) is nothing more than pureed fruit folded into sweetened whipped cream. For Valentine's day I took it a notch further and added a bed of peaches and bourbon syrup under the swirly folds of cream. The inspiration for both parts of this recipe comes from Nigella Lawson, a wonderful, witty British chef whose goddess-like kitchen manner reminds us that love and food go hand in hand.

What you need:
10 oz frozen raspberries
10 oz frozen or fresh peaches, sliced
a handful fresh berries for decoration
3/4 cups heavy whipping cream
7 Tbsp sugar
4 Tbsp bourbon
1 pinch ground cloves
(serves 2-4)

How to do it:
1. Thaw the raspberries fully (e.g. on low low heat in a pan) and drain them well, saving the juice.
2. Pour raspberry juice into a pan, add peaches and 5 Tbsp sugar and let simmer on medium low heat for about 20 minutes, or until the liquid becomes a very thin syrup forms (don't wait for it to get too thick, or the syrup will solidify when cool). Then, add bourbon and cloves and let simmer for 5-8 minutes more.
3. Remove the peaches from heat, ladle into the serving glasses and set into the fridge or on ice to cool.
4. Force the drained raspberries through a sieve to make fruit puree. This leaves most of the seeds in the sieve and out of the dessert. Make sure that the raspberries are really well drained first. Set the puree on ice to cool.
5. Whip cream to stiff peaks, adding the remaining 2Tbsp sugar half way through. Fold the raspberry puree into the cream, leaving pronounced streaks of red and white. Scoop this lovely mixture into the serving glasses over the cooled peaches. Decorate with berries and let cool very thoroughly over ice and in the fridge (or maybe freezer for 15 minutes, but I have not tried this).
6. Taste it, and fall in love!

The art of it:
A long time ago, before I started cooking or could legally taste bourbon, I saw Nigella's show about saving untasty winter peaches by simmering them in a bourbon syrup. The idea stuck until I finally tried it this Valentine's day. In this recipe, the syrup and peaches are a perfect complement to the carefree and unsophisticated fool. After all love is nothing simple.
My Valentine agreed that the taste of this was a perfect end to a perfect day.

Simple Banana Nut Bread

Saturday, February 11, 2012

Banana bread is a classic American dish. I've been going to make it for a long time, and now that I have I almost regret it, because it is absolutely addictive! Having one slice is just not an option. Given that I usually don't have this problem with desserts, this is surprising.
Are you brave enough? If so, cook on!

What you need:
3 ripe bananas (overripe is fine!)
2 cups + 1Tbsp all purpose flour
1 cup sugar (brown or white)
2 large eggs
3 Tbsp unsalted butter
1 tsp baking soda
2 tsp apple cider vinegar (or lemon juice)
1/3 cup walnuts, broken into coarse chunks
1/8 tsp nutmeg
1 Tbsp pollen granules (optional)
1 tsp cocoa powder (optional)

How to do it:
0. Preheat the oven to 350 degrees Fahrenheit.
1. Melt butter on low heat. Use some of it to butter the loaf pan.
2. Mix eggs and sugar into a fine foam with an electric mixer. While mixing, pour in the melted butter (it should not be hot!). Add nutmeg, cocoa powder, pollen, walnuts and mashed bananas. Mix well with a spoon.
3. Add flour in two portions, mixing gently with a spoon just until it is incorporated (do not overmix).
4. Put baking soda into a dry cup and add vinegar. Mix to make sure that all the baking soda reacts with the acid in vinegar. Quickly pour this foam into the batter and mix very gently, but thoroughly.
5. Pour the batter into the buttered pan and smooth it out with a spoon.
6. Bake for about 1 hour. If the bread is nice and brown, insert a toothpick into its center to check for readiness. If the toothpick comes out clean and dry, the bread is ready. If the bread has browned, but is not yet ready, place a sheet or two of aluminum foil over it (don't tuck in) to prevent it from getting too dark.
7. Enjoy! Hopefully your will power is better than mine :)

The art of it:
Pollen is a waco idea, but I think it does add some character. As far as cocoa powder: it is here for a mere suspicion of chocolate, so don't add more than one teaspoon.

Red Lentil Soup

Monday, February 6, 2012


Red lentil soup is one of the fastest soups to make! And it is good for you because lentil is one of the healthiest world foods.You come home tired and hungry, you certainly don't want to spend hours cooking, not even one hour, not even 45 minutes... This soup takes 30 minutes of your time (even less if you have a gas range) and will not disappoint you one bit. Red lentils boil fast: about 10-15 minutes to become soft, and 20-25 minutes to start falling apart. The only sad thing is that the happy orange color of red lentil becomes yellow during boiling. Follow me to read this rescue-recipe.